 ( 51 ) 2-Sep-2016
Here I am laying out the brace pattern on the back of the top.
( 51 ) 2-Sep-2016
Here I am laying out the brace pattern on the back of the top.
 ( 52 ) 2-Sep-2016
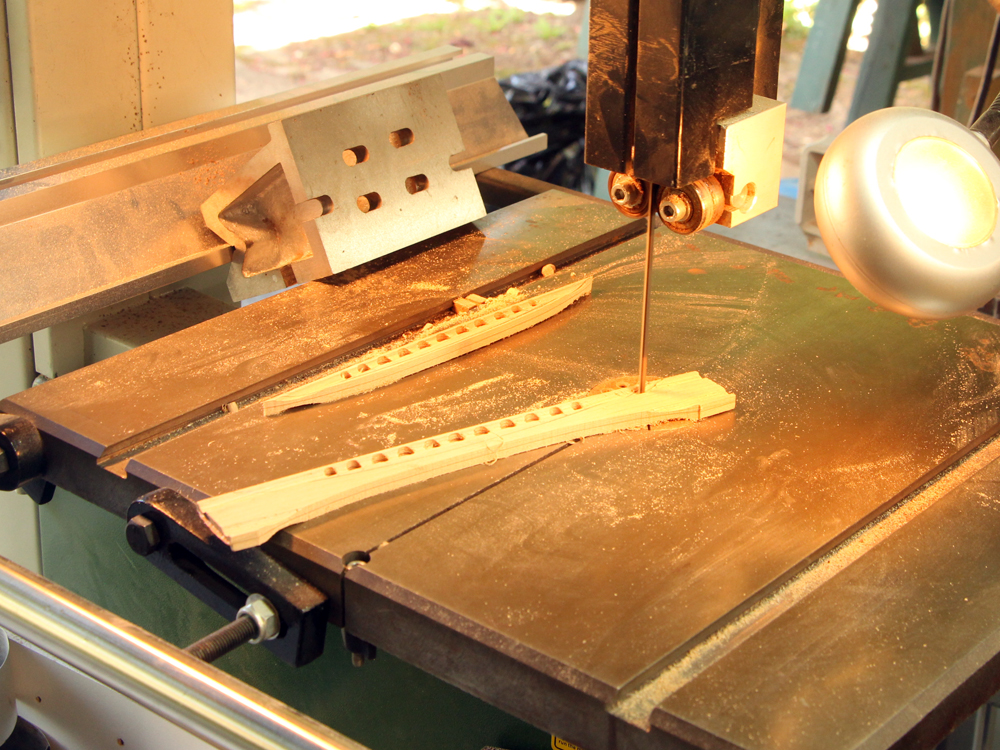
Using the bandsaw to cut out some of the braces.
 ( 53 ) 2-Sep-2016
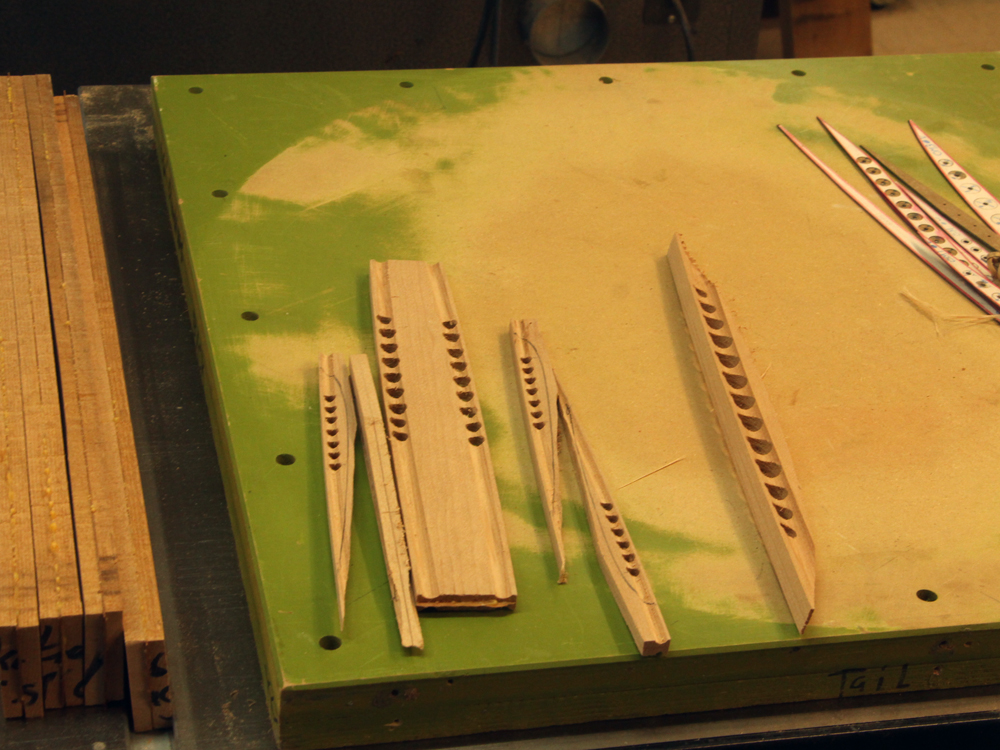
I drill holes into the braces and route channels down the sides to reduce their mass.
 ( 54 ) 2-Sep-2016
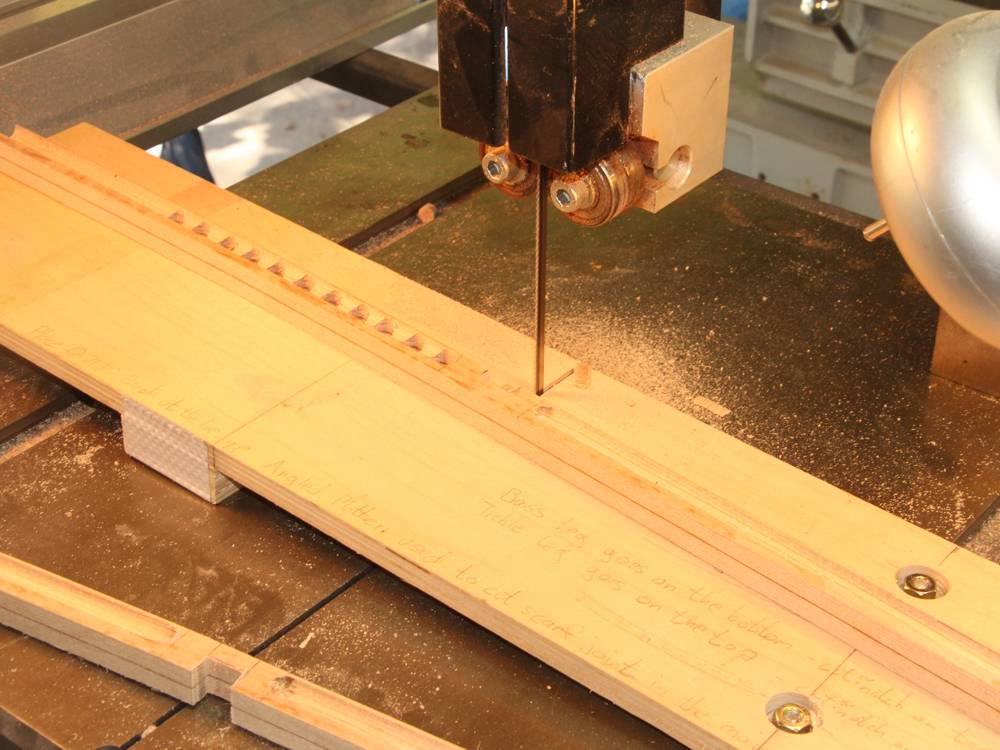
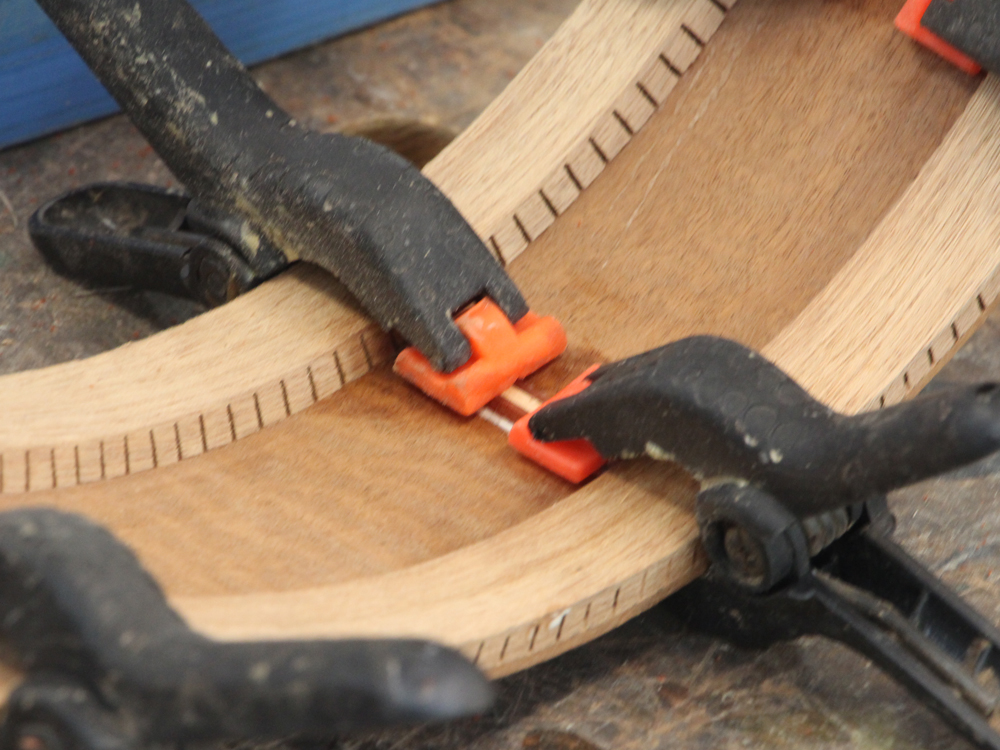
I also use the bandsaw to cut lap joints into the X-braces.
 ( 55 ) 2-Sep-2016
With a little care they fit together perfectly.
 ( 56 ) 2-Sep-2016
Next I sand the braces to shape.
 ( 57 ) 2-Sep-2016
 ( 58 ) 2-Sep-2016
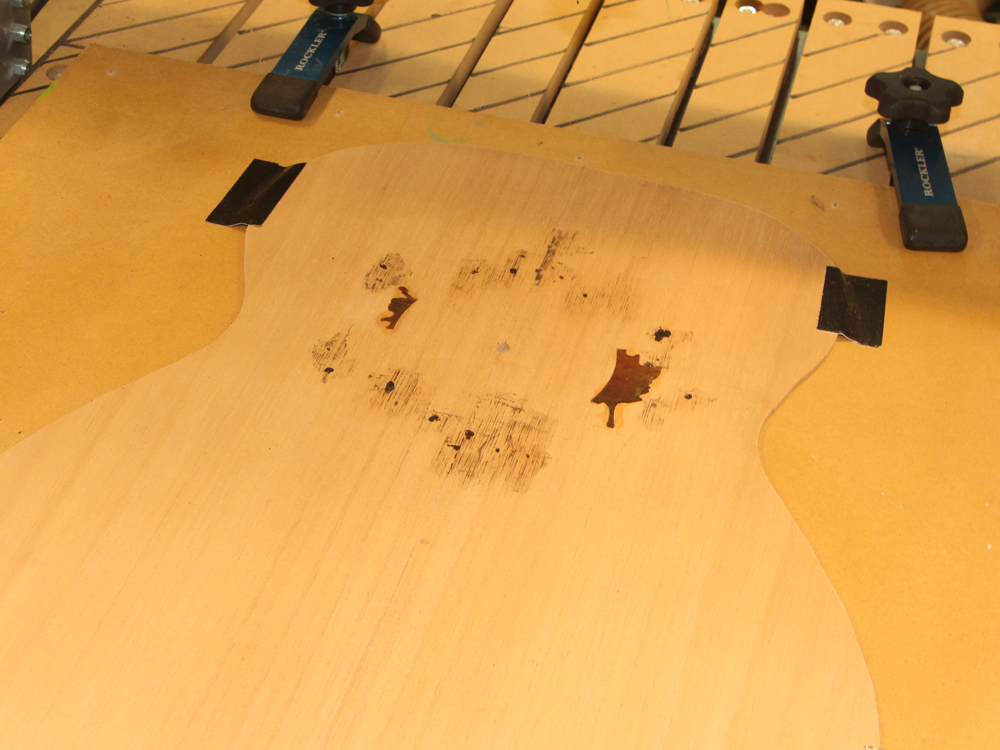
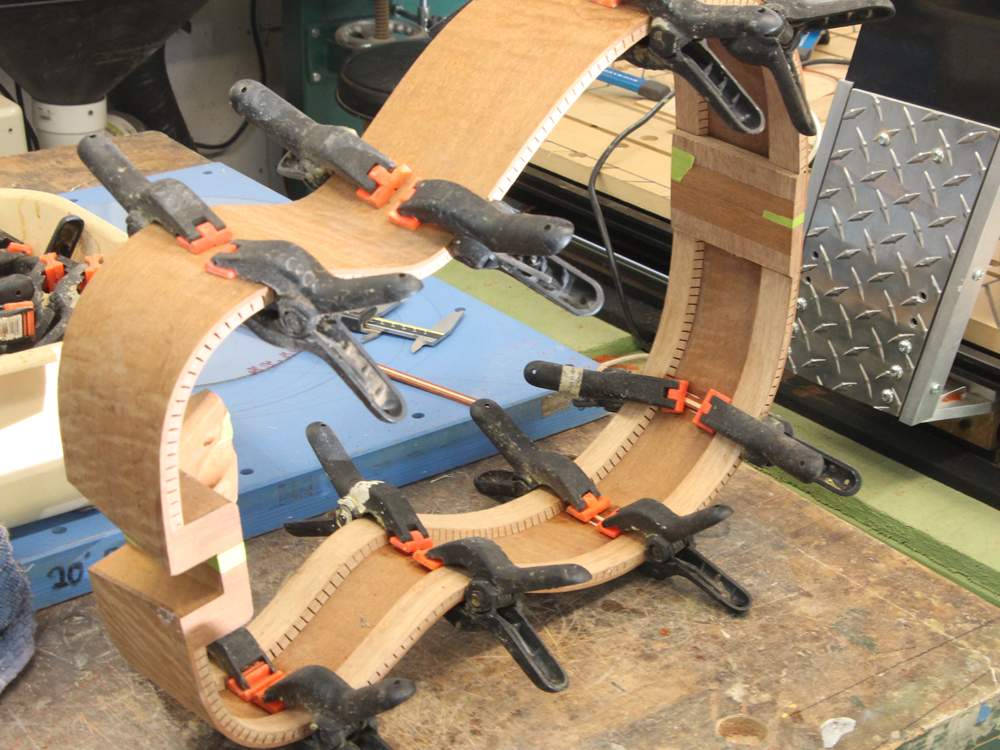
Here I have laid out the braces on the back of the top.
 ( 59 ) 2-Sep-2016
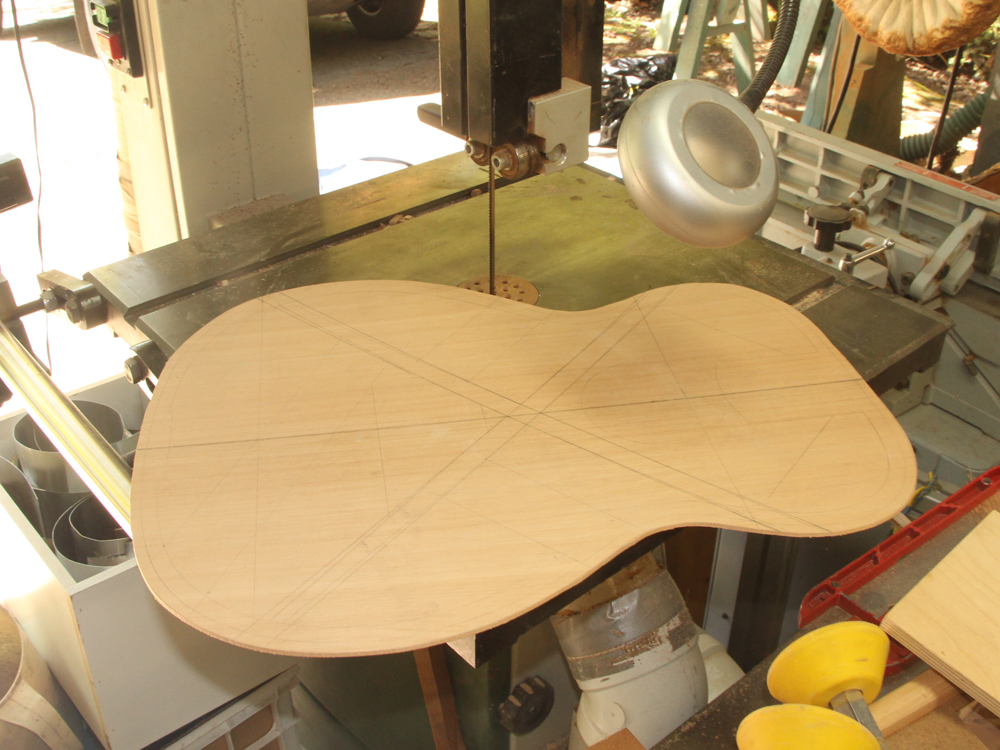
And now I can cut out the top plate.
 ( 60 ) 2-Sep-2016
 ( 61 ) 2-Sep-2016
Before I glue the braces in place I clean them up with a little hand sanding.
 ( 62 ) 2-Sep-2016
Now I use my CNC Router to create the rosette.
 ( 63 ) 2-Sep-2016
This rosette required several separate operations.
 ( 64 ) 2-Sep-2016
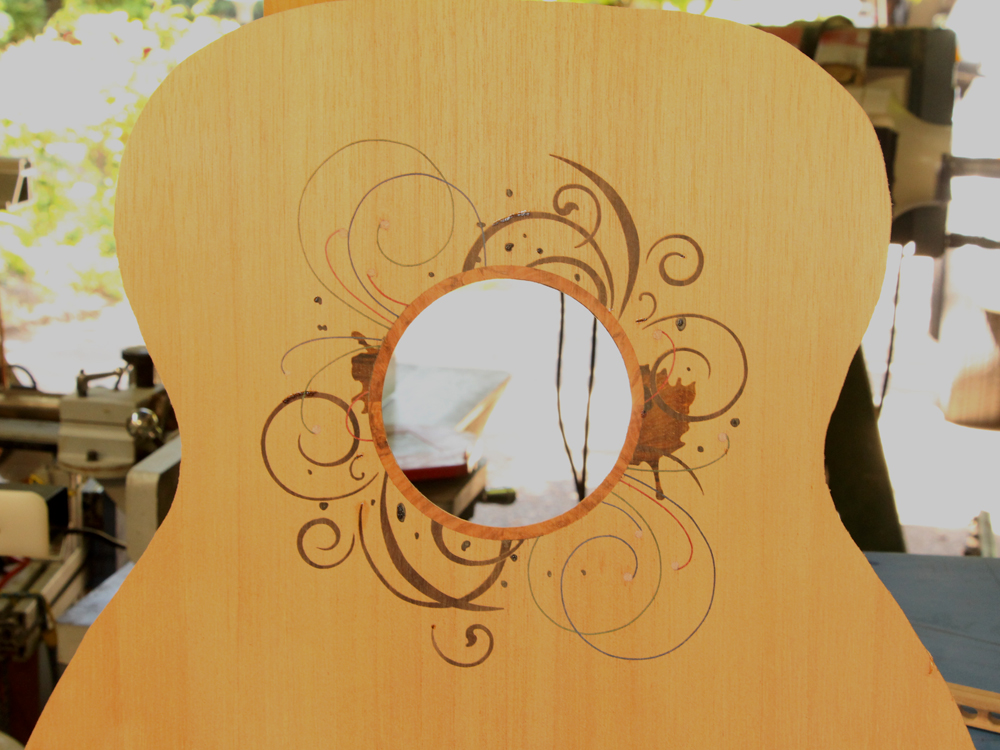
There is lots of detail in this rosette that represents the corona of the sun.
 ( 65 ) 2-Sep-2016
 ( 66 ) 2-Sep-2016
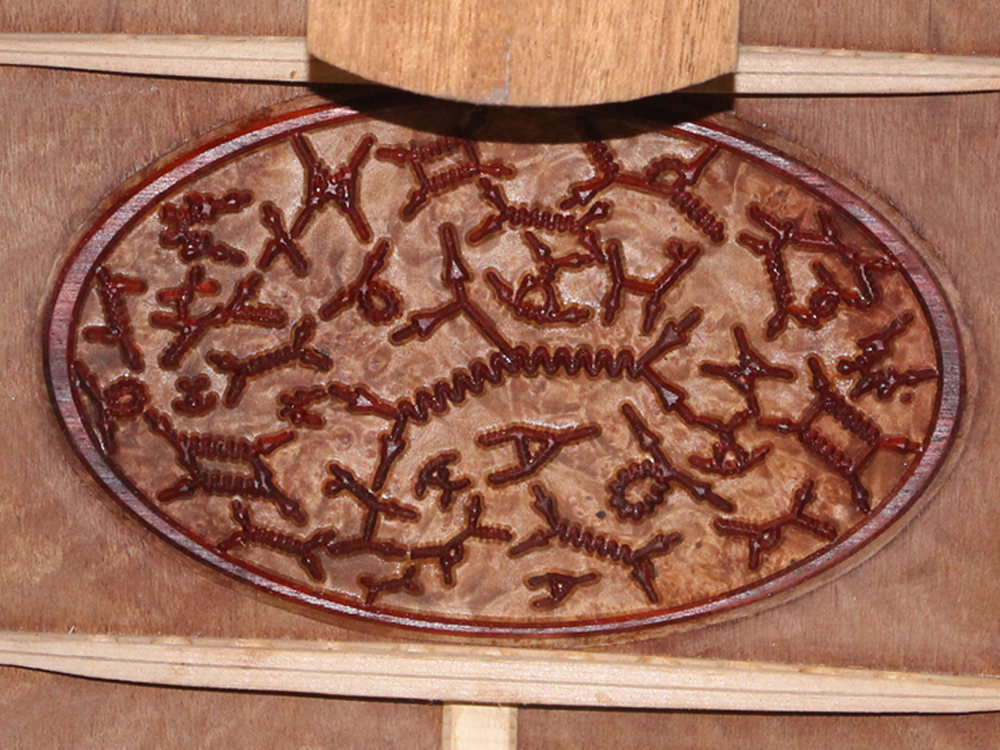
The contra-rosette is a plate with a variety of Feynman diagrams.
 ( 67 ) 2-Sep-2016
Now I start to glue the braces in place. Here I am working on the back braces.
 ( 68 ) 2-Sep-2016
 ( 69 ) 2-Sep-2016
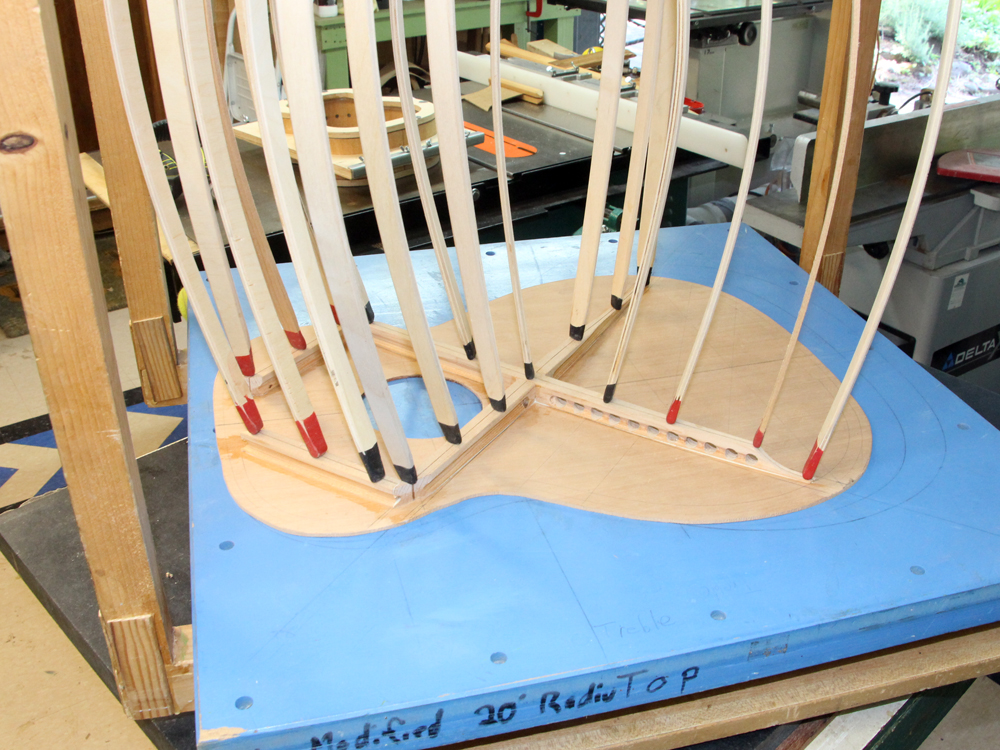
Part of my process requires that I can accurately place the braces on the top. To do this I use a set of fiducial buttons that the braces fit on to.
 ( 70 ) 2-Sep-2016
Here I am marking the braces where I will cut them.
 ( 71 ) 2-Sep-2016
Now the sides snuggly fit into the braces.
 ( 72 ) 2-Sep-2016
And I start to glue the top braces into place.
 ( 73 ) 2-Sep-2016
When everything is dry I clean up the sound hole with the oscillating sander.
 ( 74 ) 2-Sep-2016
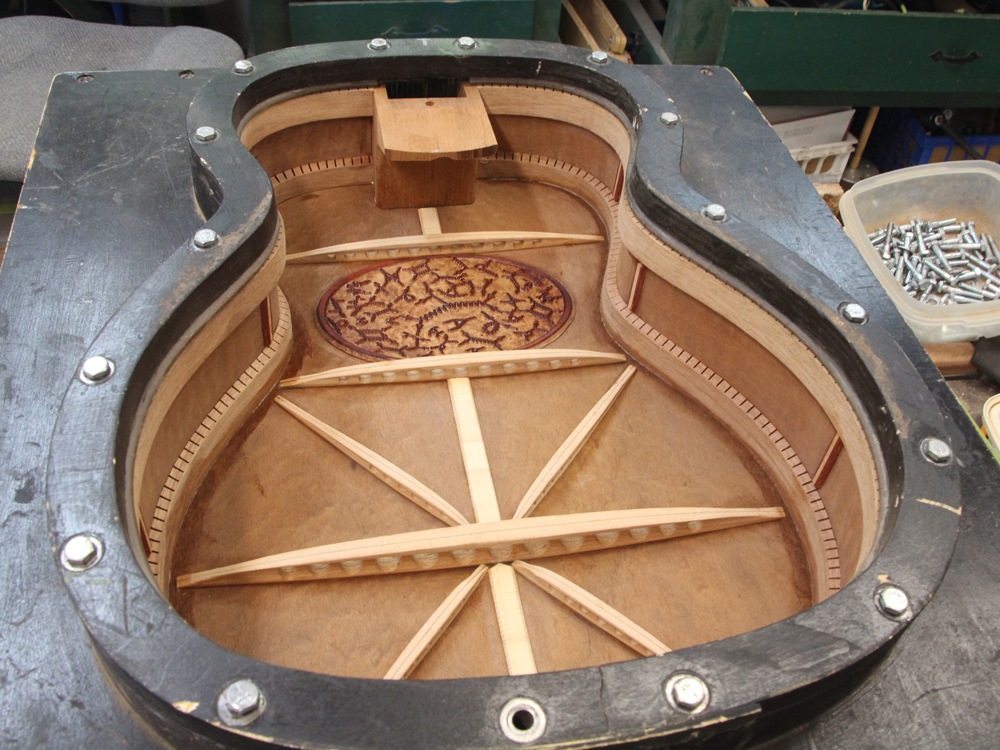
And here are all the braces in place.
 ( 75 ) 2-Sep-2016
Before I glue the top and bottom to the sides I install a set of side braces that will help prevent the sides from splitting.
 ( 76 ) 2-Sep-2016
 ( 77 ) 2-Sep-2016
A look at the back braces in place.
 ( 78 ) 2-Sep-2016
And here is a picture of the rosettes... looks like a party!
 ( 79 ) 2-Sep-2016
I install a label on the back of the heel block.
 ( 80 ) 2-Sep-2016
With everything ready I glue the top and back to the sides.
 ( 81 ) 2-Sep-2016
And I use a flange to press the top onto the sides.
 ( 82 ) 2-Sep-2016
When it comes out of the form it has a lip that needs to be removed.
 ( 83 ) 2-Sep-2016
I use a small router to clean up the edge.
 ( 84 ) 2-Sep-2016
 ( 85 ) 2-Sep-2016
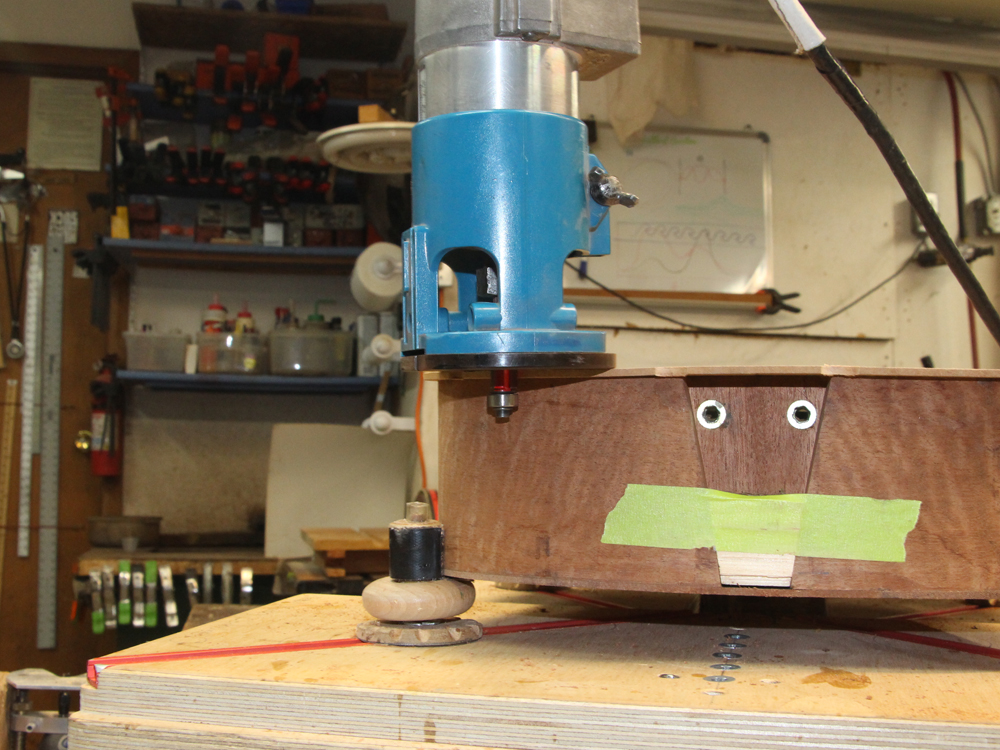
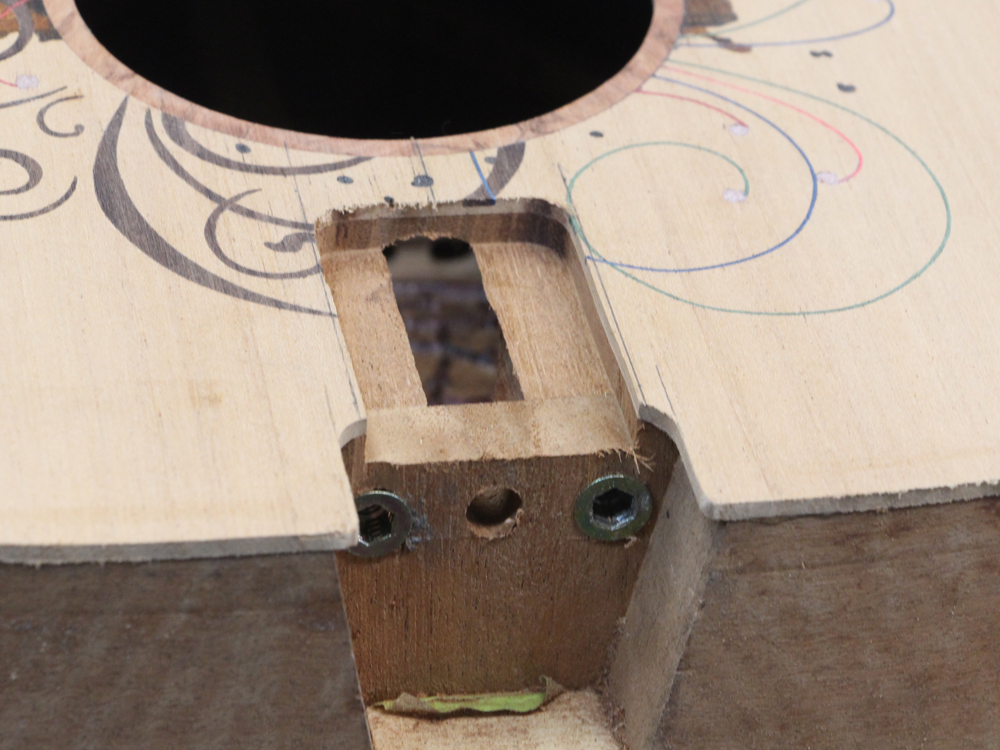
I use this router template to create the cantilevered fretboard support channel.
 ( 86 ) 2-Sep-2016
This will allow the neck to move freely as it is adjusted.
 ( 87 ) 2-Sep-2016
The Box.
 ( 88 ) 2-Sep-2016
 ( 89 ) 8-Jul-2017
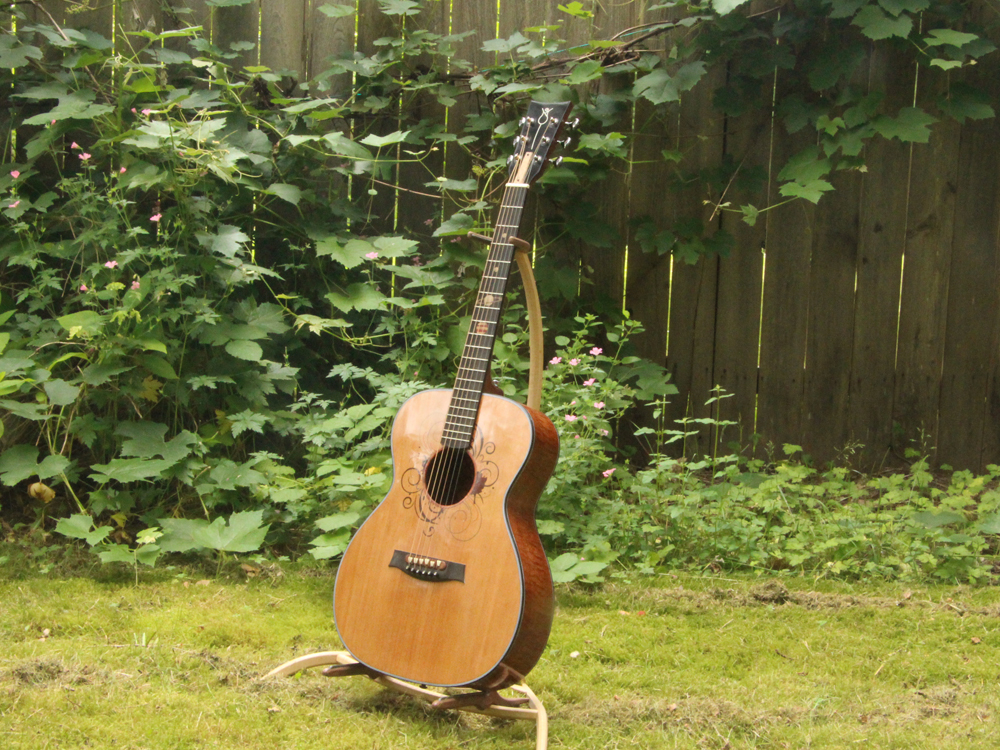
Unfortunately I fell off taking pictures of the build. Nonetheless, a year later and voila!